Sewing presser feet are essential tools that guide fabric precisely under the needle, enhancing stitching accuracy and versatility. They come in various types, from basic straight-stitch feet to specialized options like zipper or walking feet, each designed for specific techniques. Understanding and using the right presser foot can elevate your sewing projects, ensuring professional results and expanding your creative possibilities.
Types of Sewing Presser Feet

Sewing presser feet are categorized into essential and specialized types, including straight-stitch, zigzag, zipper, and walking feet, each designed for specific tasks to enhance sewing efficiency and creativity.
2.1 Essential Presser Feet
Essential presser feet are must-have accessories for every sewer, providing versatility for everyday projects. The straight-stitch foot is ideal for straightforward sewing, while the zigzag foot handles decorative stitching and stretch fabrics. The zipper foot is perfect for precise zipper installations and piping, ensuring accuracy. These feet are often included with sewing machines and are indispensable for basic to intermediate tasks, offering reliability and ease of use across various fabric types and techniques.
2.2 Specialized Presser Feet
Specialized presser feet cater to specific sewing tasks, offering tailored solutions for advanced techniques. The walking foot ensures even feeding on thick fabrics and quilts, while the open-toe foot provides visibility for intricate appliqué. Blind hem and cording feet handle delicate hems and decorative stitching, respectively. Additionally, the satin stitch foot enhances embroidery, and the non-stick foot works well with slippery materials. These feet expand creative possibilities, allowing sewers to tackle complex projects with precision and confidence. They are invaluable for quilters, embroiderers, and those working with specialized fabrics or techniques, ensuring professional-quality results in every stitch.

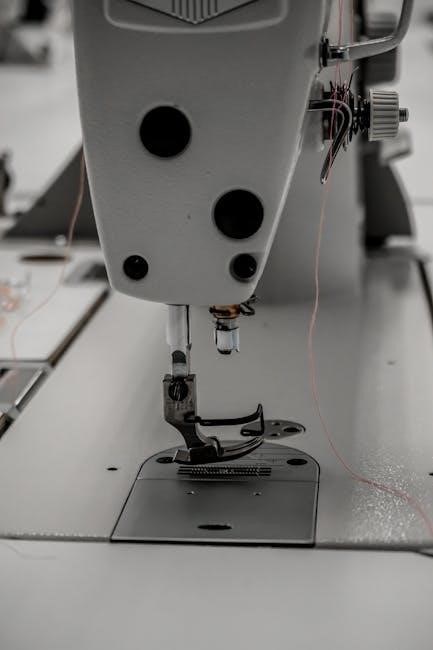
How Presser Feet Are Fitted
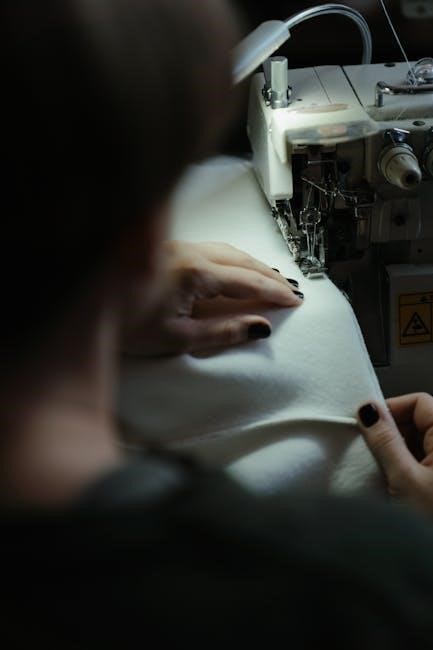
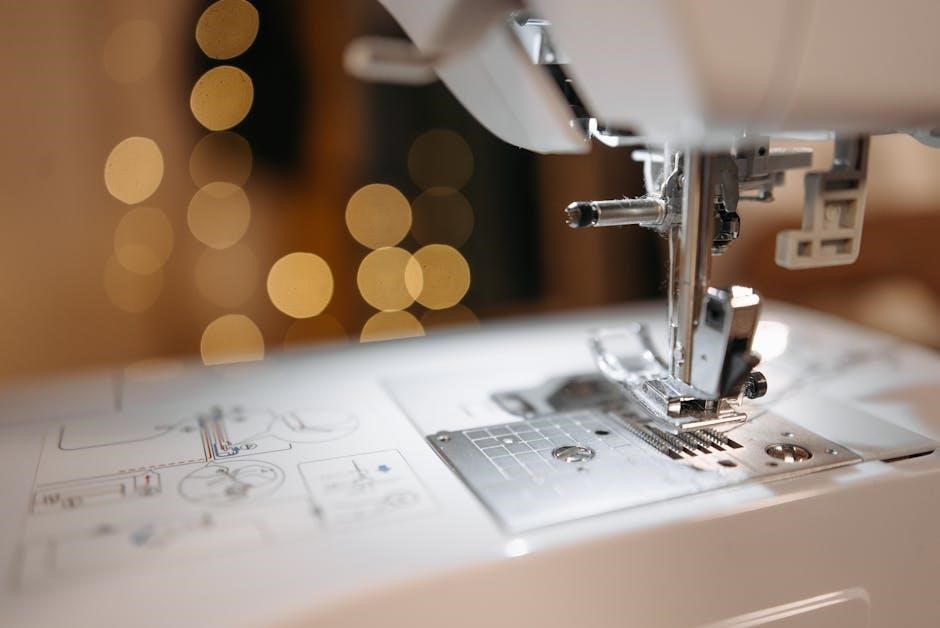
Fitting presser feet varies depending on the sewing machine’s design. Most machines use either snap-on or screw-on mechanisms. Snap-on feet are easily attached by aligning the foot with the shank and snapping it into place. Screw-on feet require a screwdriver to secure them. Compatibility is crucial, as different machines may have unique shank types or adapters. Proper alignment ensures smooth operation. Always refer to the machine’s manual for specific instructions, as improper fitting can lead to poor stitching or damage. Using the correct foot for your machine and project guarantees optimal performance and prevents issues during sewing.
Choosing the Right Presser Foot
Selecting the right presser foot depends on fabric type and sewing project. Essential feet like straight-stitch and zigzag are versatile, while specialized feet, such as zipper or walking feet, cater to specific tasks, ensuring precision and quality in every stitch. Always match the foot to your project’s demands for optimal results.
4.1 Selecting by Fabric Type
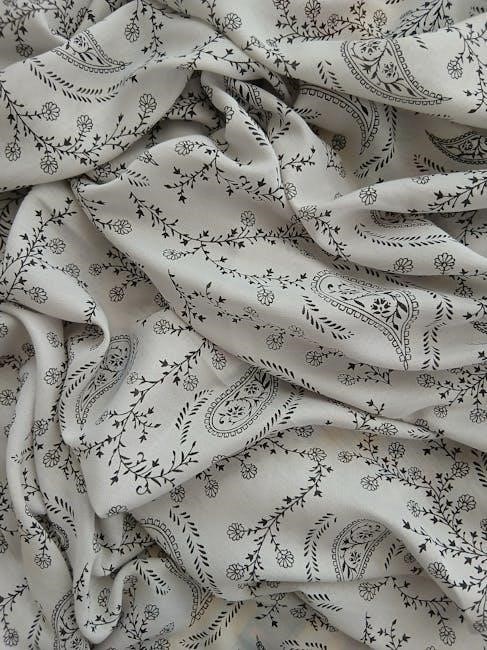
The choice of presser foot often depends on the fabric you’re working with. For delicate or slippery fabrics like silk or satin, a non-stick or Teflon-coated foot provides better control and prevents fabric from sticking or dragging. Thicker fabrics, such as denim or canvas, may require a heavy-duty or walking foot to ensure even feeding and prevent bunching. For knits, a knit foot or zigzag foot is ideal, as it allows the fabric to stretch without breaking stitches. Using the right foot for your fabric type ensures smooth stitching, reduces puckering, and enhances the overall quality of your seams. Always consider the fabric’s weight, texture, and stretch when selecting the most suitable presser foot for your project.
4.2 Selecting by Sewing Project
Choosing the right presser foot depends on the specific sewing project. For example, a zipper foot is ideal for sewing zippers or piping, allowing precise alignment with the teeth. A walking foot or even-feed foot is perfect for quilting or working with thick fabrics like denim, ensuring smooth fabric movement. If you’re hemming pants or curtains, a blind hem foot is essential for invisible stitches. For delicate or stretchy fabrics, a zigzag or stretch stitch foot works best. When sewing buttonholes, a specialized buttonhole foot ensures accurate and consistent results. Matching the presser foot to your project type guarantees better control, precision, and professional-looking finishes. Whether you’re crafting garments, home decor, or quilts, the right foot enhances both efficiency and creativity, helping you achieve the desired outcomes for any sewing task.
Tips for Using Your Presser Foot Correctly
Using the right presser foot correctly is key to achieving professional sewing results. Always ensure the foot is securely attached to your machine to maintain proper alignment. Adjust the foot’s position or settings based on the fabric type and stitch selection. For example, use the zigzag foot for stretchy fabrics and the walking foot for thick or layered materials. Keep the presser foot clean and free of debris to ensure smooth operation. Avoid pulling or forcing fabric through, as this can damage the foot or misalign stitches. Test your settings on scrap fabric before starting your project. Refer to your machine’s manual for specific guidance, as different models may have unique features. Proper use of the presser foot enhances stitching accuracy, reduces fabric bunching, and prolongs the life of your sewing machine.
Maintenance and Care
Proper maintenance and care of your presser feet ensure optimal performance and longevity. Regularly clean the feet to remove lint, thread, and debris using a soft brush or cloth. Avoid harsh chemicals, as they may damage the finish. Store presser feet in a protective case or pouch to prevent scratching or bending. Inspect feet for signs of wear or damage, such as bent edges or broken springs, and replace them if necessary. Lubricate moving parts occasionally, following the manufacturer’s instructions. Avoid using damaged feet, as they can misalign fabric or cause uneven stitching. For specialized feet, refer to the manufacturer’s care guidelines. Properly maintaining your presser feet ensures smooth operation, prevents damage to your sewing machine, and guarantees consistent stitching quality for years to come.
Troubleshooting Common Issues
Common presser foot issues include improper alignment, uneven stitching, or fabric dragging. Check for correct installation, adjust pressure settings, and ensure compatibility with your machine and fabric type.
7.1 Common Presser Foot Problems
One of the most common issues with presser feet is improper alignment, which can lead to uneven stitching or fabric slippage. Another frequent problem is the foot not being securely attached, causing it to wobble during sewing. This can result in inconsistent stitch quality. Fabric bunching or dragging under the foot is another issue, often due to incorrect pressure settings or using the wrong foot for the fabric type. Additionally, some users experience difficulty with specialized feet, such as the zipper or walking foot, where the foot may not glide smoothly or may catch on the fabric. These problems can hinder productivity and affect the overall quality of the sewing project. Identifying the root cause is essential for resolving these issues effectively and ensuring smooth sewing operations.
7.2 Solutions and Adjustments
To resolve common presser foot issues, start by ensuring the foot is properly aligned and securely attached to the machine. Refer to your sewing machine manual for specific fitting instructions, as improper attachment can lead to poor stitch quality. Adjust the presser foot pressure according to the fabric type—lighter for delicate fabrics and heavier for thicker materials. If fabric is bunching, try using a walking foot or even-feed foot to guide the material smoothly. For specialized feet, such as the zipper or cording foot, ensure the fabric is positioned correctly before starting to sew. Regularly clean and maintain the presser foot area to prevent dust or debris from affecting performance. If the foot feels loose, tighten the screw or clip securely. Testing your adjustments on scrap fabric can help you fine-tune settings before working on your final project.